Connect a broker
Where the broker picker lives on each device, how to name the account, and what a successful first connection looks like.
On this page
What this does
Walks you from the broker picker to a connected account. The credential you paste and the file you export differ by broker, so the steps below cover the part that is the same for all of them. Each broker’s own article covers the rest.
Before you start
- Have your broker’s article open in another tab. Most brokers need something generated on their side first, and it is faster to collect it before you start.
- Nothing here places orders. Every credential VEXA asks for is read only, and on the brokers that allow the check, VEXA rejects a key that carries trading permissions.
Steps
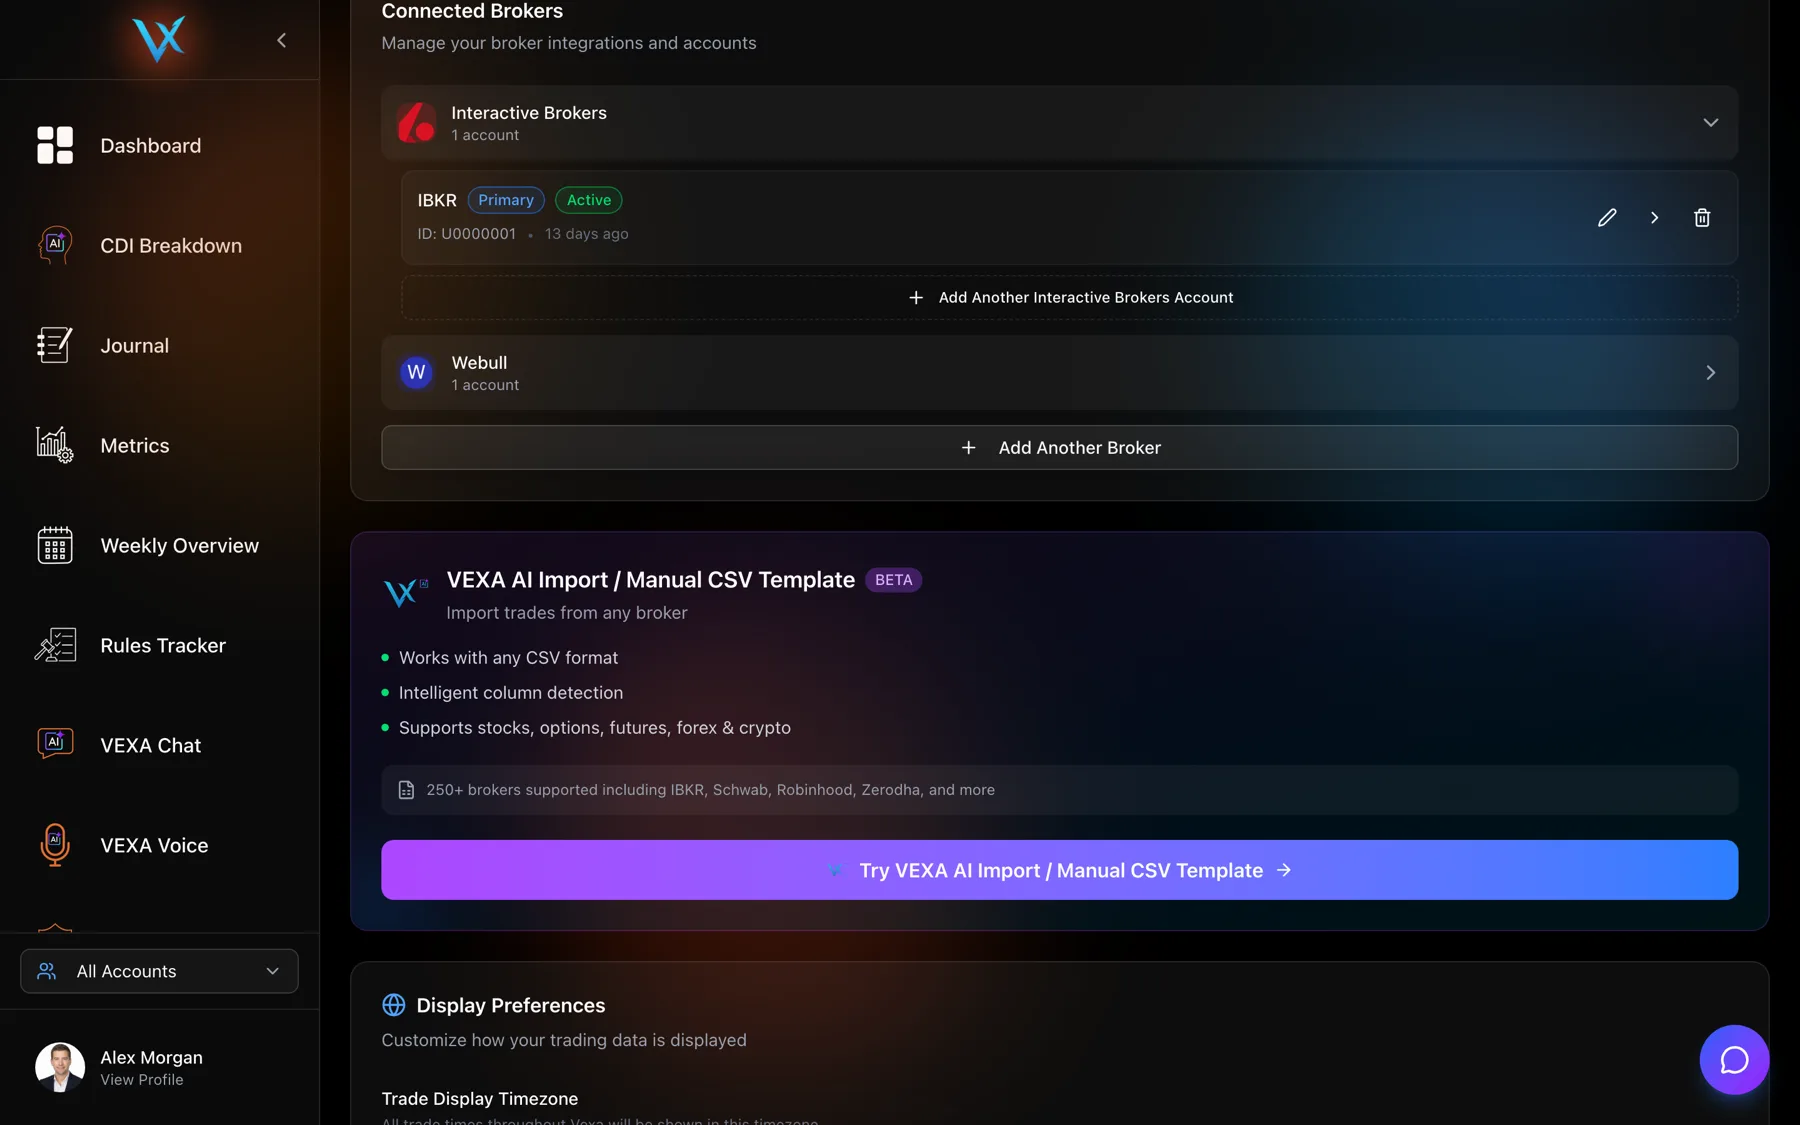
- In the sidebar, find the card with your name at the bottom and click View Profile.
- Scroll to Connected Brokers.
- Click Connect Your First Broker, or Add Another Broker if you already have one.
- Find your broker on the Add Broker Connection page. There is a search box.
- Click Connect on the broker’s card.
- Type a name into the account alias field if you want one. It is optional and it is what you will see in the account filter later.
- Choose the Automated Sync or Manual Upload tab.
- Expand the setup instructions card. It is collapsed by default and it holds the steps for your broker.
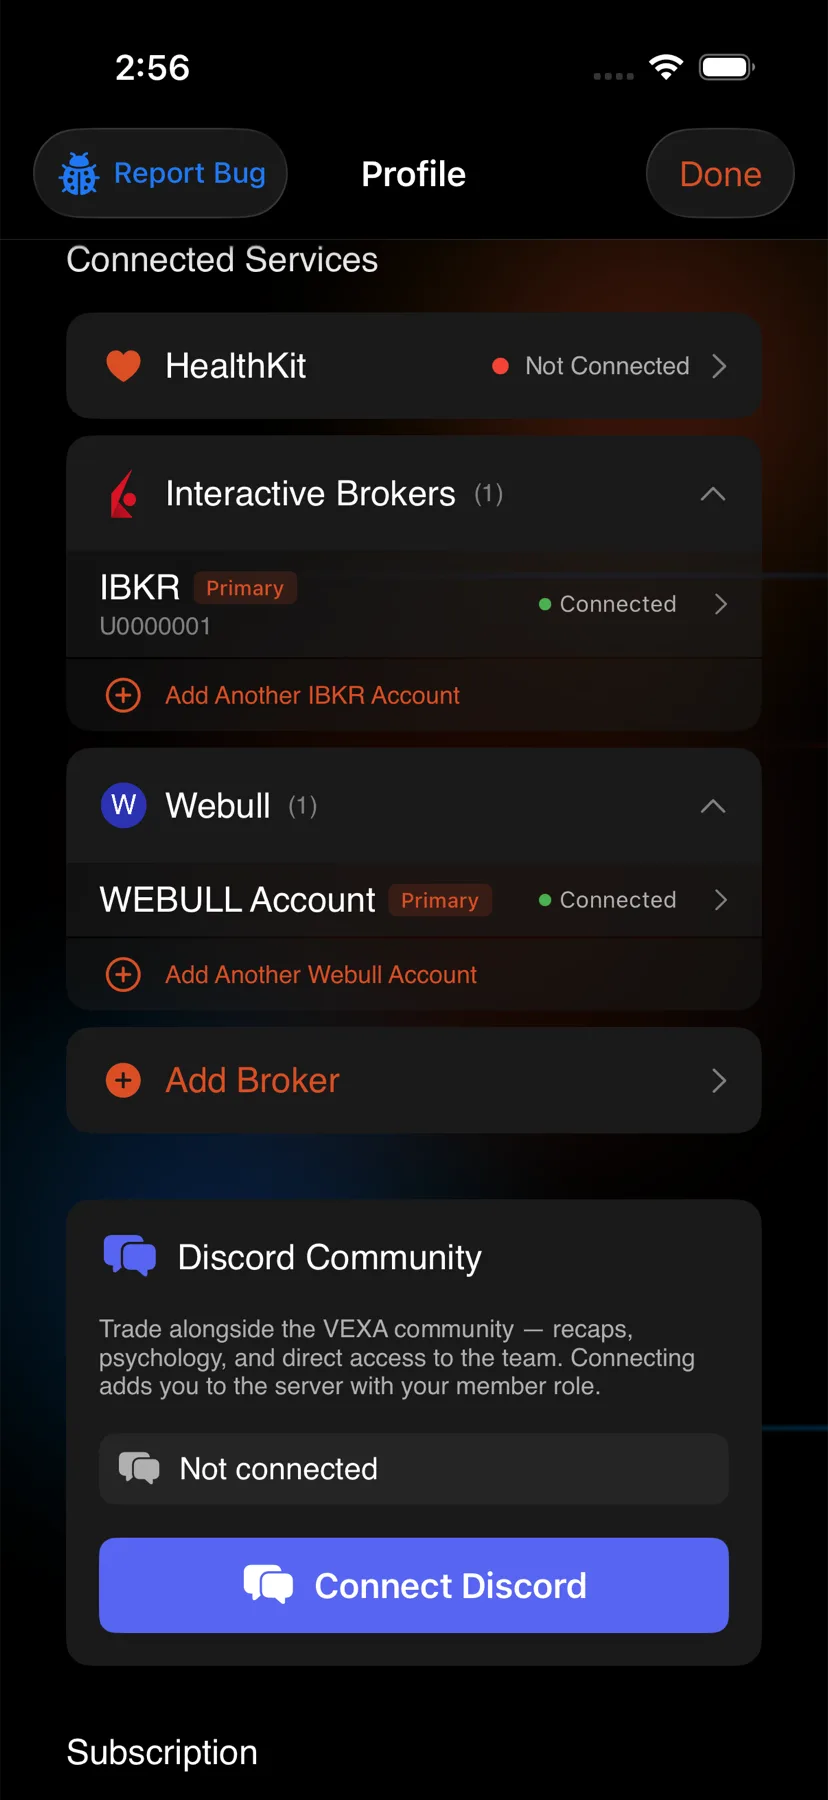
- On Home, tap the circular avatar at the top right.
- Scroll to Connected Services.
- Tap Add Broker.
- Find your broker on the Select Broker screen.
- Tap it to open the broker setup screen.
- Type a name into the account alias field if you want one. It is optional and it is what you will see in the account filter later.
- Use the segmented control to choose API Sync or Manual Upload.
- Expand the setup instructions card. It is collapsed by default and it holds the steps for your broker.
- In the sidebar, tap the profile chip at the bottom, then View Profile.
- Scroll to Connected Services.
- Tap Add Broker.
- Find your broker on the Select Broker screen.
- Tap it to open the broker setup screen.
- Type a name into the account alias field if you want one. It is optional and it is what you will see in the account filter later.
- Use the segmented control to choose API Sync or Manual Upload.
- Expand the setup instructions card. It is collapsed by default and it holds the steps for your broker.
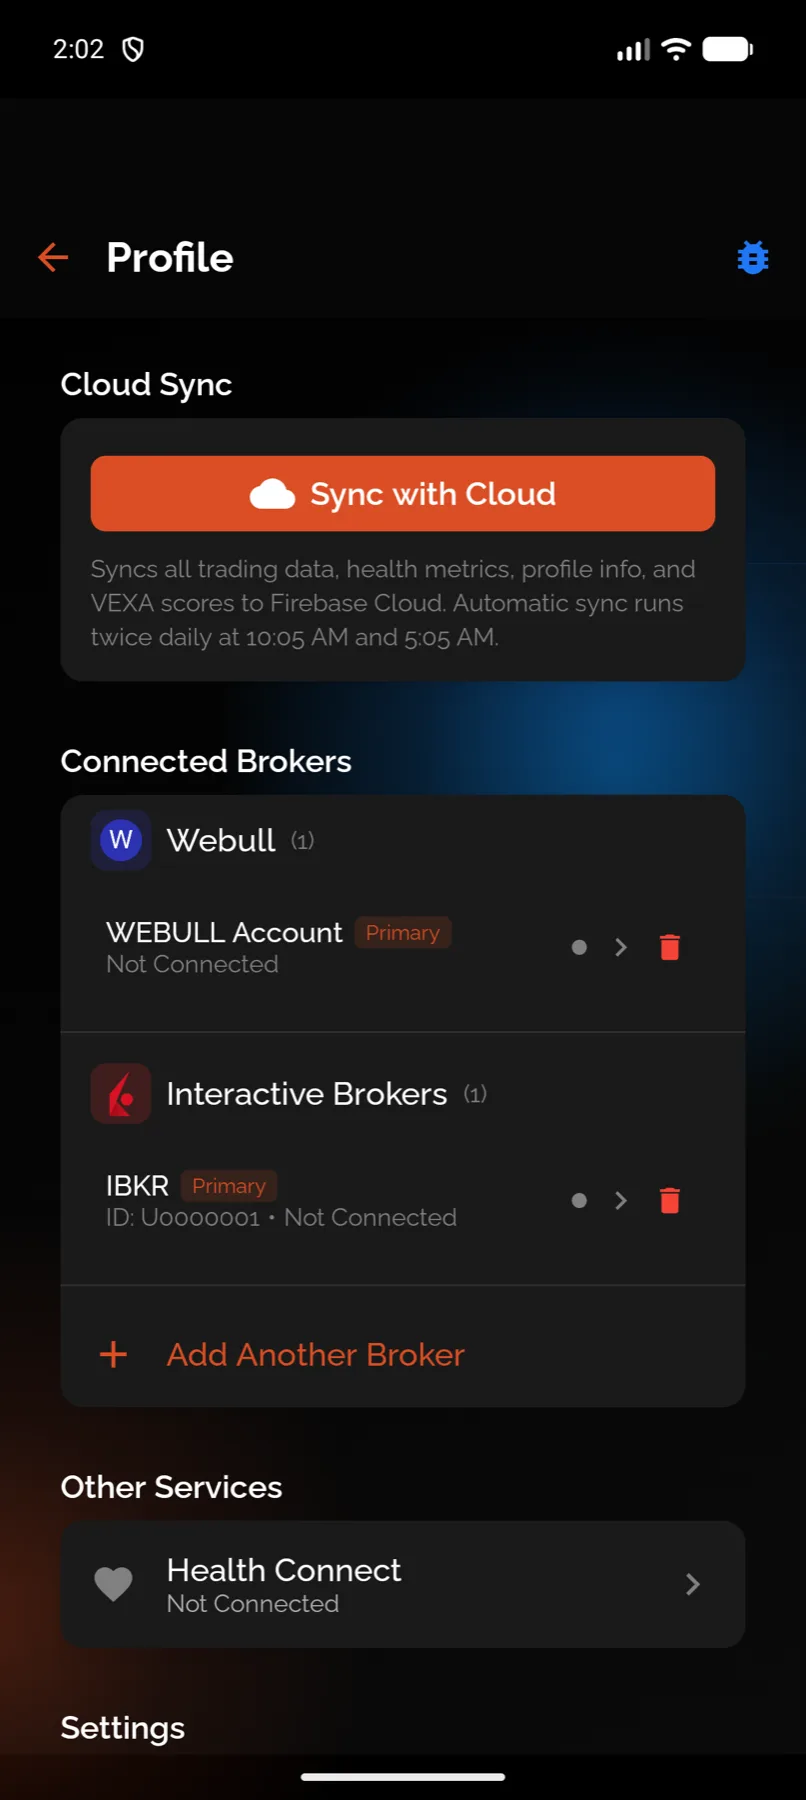
- On Home, tap the circular avatar at the top right.
- Scroll to Connected Brokers.
- Tap Add Another Broker.
- Find your broker on the broker list screen. There is a search field.
- Tap Connect on the broker’s row.
- Type a name into the account alias field if you want one. It is optional and it is what you will see in the account filter later.
- Choose the Manual Upload or API Sync tab. Manual Upload is first on Android.
- Expand the setup instructions card. It is collapsed by default and it holds the steps for your broker.
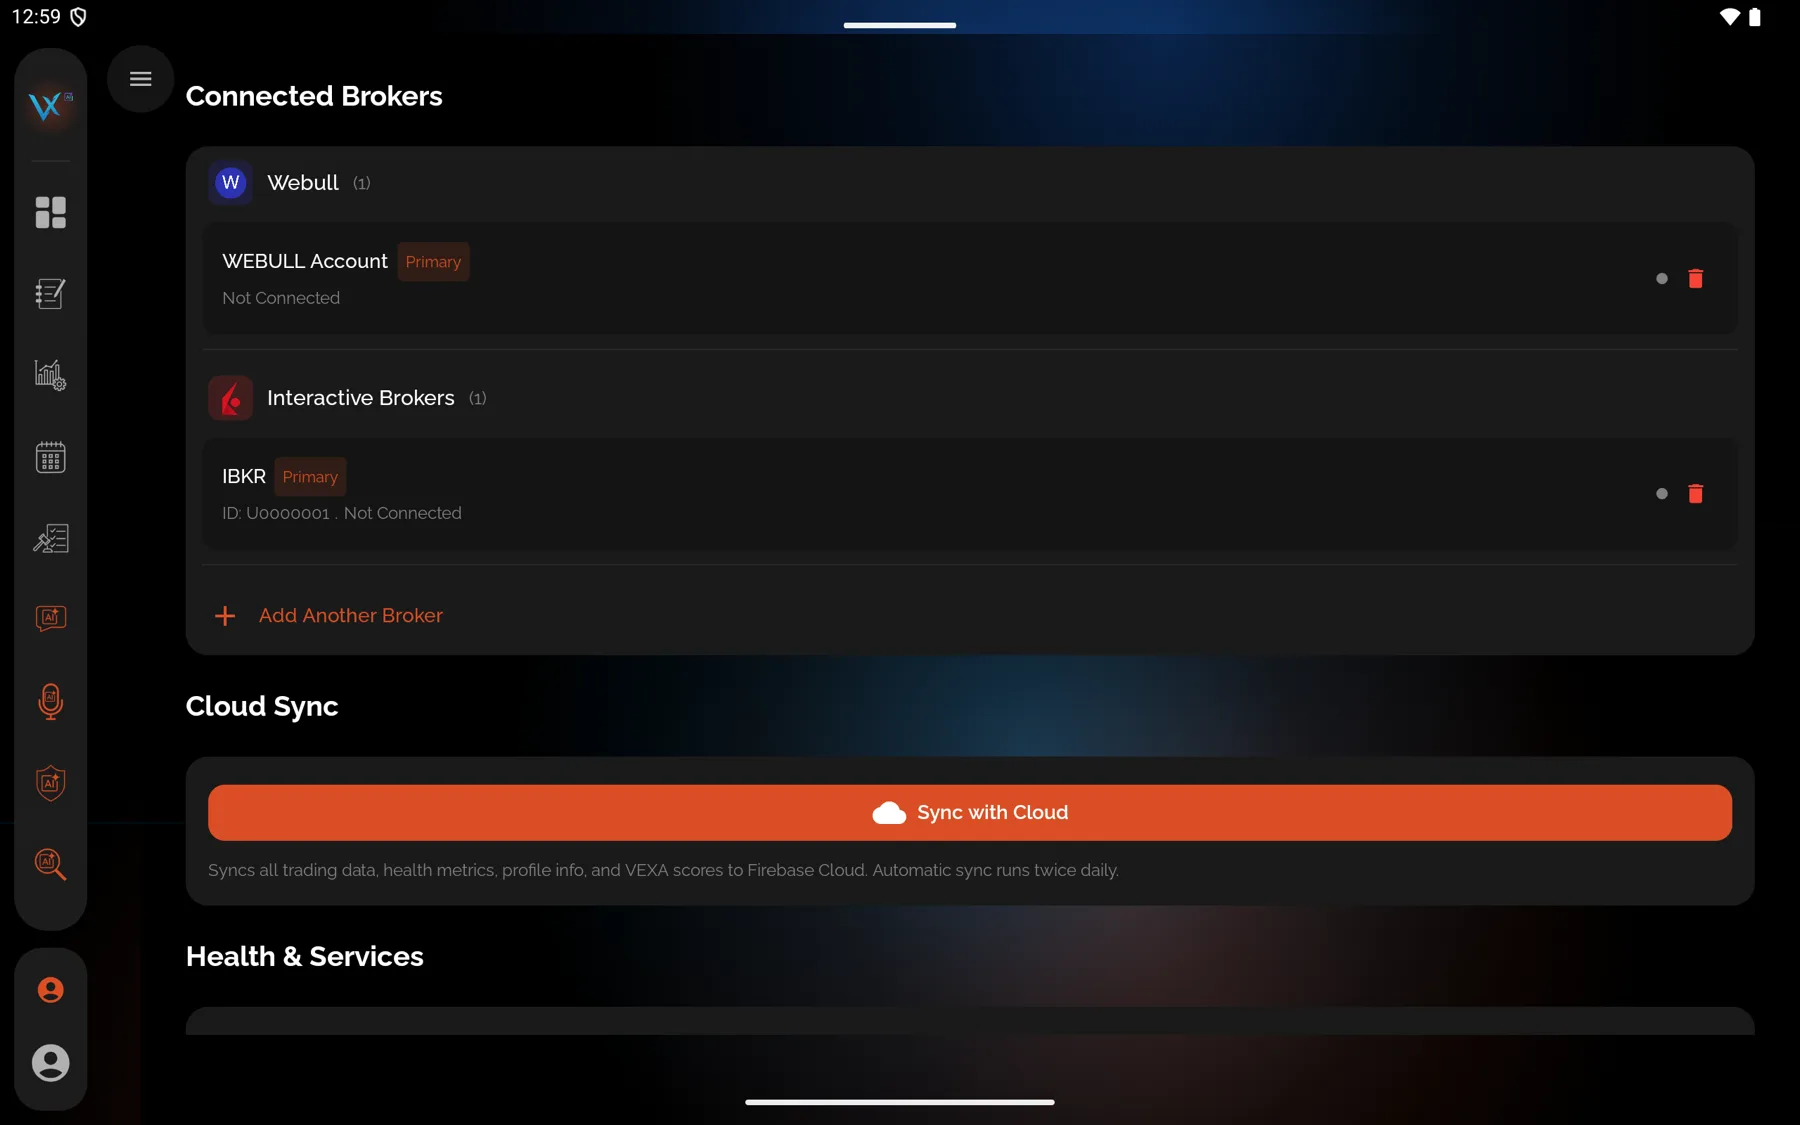
- In the sidebar, tap the profile chip at the bottom.
- Scroll to Connected Brokers.
- Open the Broker Connections page. Brokers are grouped under API Sync Supported and CSV Upload Only, and there is a Search brokers… field.
- Tap your broker.
- Tap Connect.
- Choose the API Sync or Manual Upload tab. A tab only appears if the broker supports that route.
- Expand the setup instructions card. It is collapsed by default and it holds the steps for your broker.
The setup instructions card is collapsed
This catches nearly everyone. The broker screen opens showing a credential form or an upload area, and the step-by-step instructions for your broker sit above them in a card you have to tap to expand. If you are staring at two empty fields with no idea what to put in them, that card is what you are missing.
Naming the account
The alias is optional and you can change it later. Leave it blank and VEXA names the account from your broker data. Fill it in and that name is what appears in the account filter, in the journal and on every metric that can be sliced by account. If you run a funded evaluation next to a personal account, name them now and save yourself the confusion later.
What you should see
After connecting a sync: the account appears under your broker in the profile broker list with an Active badge and a last-sync time. The first sync can take a minute or two on a large account.
After an upload: a result panel with counts, and the new account selected in the account filter so the trades you imported are visible rather than hidden behind a stale filter. See Understand your import results.
If it doesn’t work
- The sync tab shows a banner instead of a form. That broker’s automatic sync is not live yet. Use the upload tab, and see Supported brokers.
- The account appeared with a Needs Reauth badge. See Reconnect a broker.
- You connected the wrong account, or connected twice. See Manage multiple broker accounts and Delete a broker account.
Related
Still stuck? Email support@vexatrade.ai.